Showing posts with label digital scrapbook. Show all posts

Monday, May 18, 2015

Baby ABC Book


This is my baby, when he was a baby :) Similar to my last post ... I've made an ABC book for each of my kids with their baby pictures.  (All 5 DONE!)  I pick pictures that go along with the poem (posted below) from birth to 9 months of age.  It becomes one of their favorite books to read, especially because it's all about them.   Paper here is a mix from the "Not to Shabby" collections (Parker, Penelope, and Memory Lane) all by Shabby Princess.
 

These pages are 6 x 6, and similar to my previous post, I've done this traditionally for some of my kids and digitally for some of them. These books are fun to look at and campare the features of my kids faces, to see who looks like who, etc. They also like to show them at school when they are 'kid of the week," and it helps them make learning their ABC's fun!
 
Here is the poem (revised):
I picked this up off the internet over 10 years ago and have no idea where I found it.
 

A is for angel sent from above,
B is for baby smothered with love.
C is for cute as cute can be,
D is for discovering just daddy and me.
E is for everything baby and more,
F is for father walking the floor.
G is for glad that you are finally here,
H is for heaven you bring so near.
I is for the innocence in your baby eyes,
J is for jabbering which tells no lies.
K is for kisses the sweet baby kind,
L is for love no greater you'll find.
M is for magical moments with mommy,
N is for eating your hands, nummy, nummy.
O is for the only things that you do,
P is for precious baby so perfect and new.
Q is for quiet so don't make a peep,
R is for rocking you gently to sleep.
S is for sunny sweet smiles each new day,
T is for tummy time where you can play.
U is for the unforgetable moments we share,
V is for very valuable to those who care.
W is for my wiggly wondering child,
X is for the exciement you display so mild.
Y is for yesterdays that fly by so fast.
Z is for zzz's and good dreams that last.
 
 
(I wrote this from memory ... lol .. guess I've read it a few times!)


Wednesday, May 13, 2015

Toddler Personality Books

 
I've been MIA the past few weeks with compture trouble and I've been focusing on my other love ... photography!  However, I have accomplished a couple of things during that time :) This album is for my awesome little boy.  Here is the story ....
 
(How To .... is further down the post, so keep reading)

My favorite age (so far) is between 2 and 5 years old.  Their personalities are starting to really poke out, shine, and they are gaining a little bit of independence.  I love the way they talk, what they say, their little attitudes, etc.  Although their are moments of struggle, for the most part, they keep me laughing and smiling.  However, they are still moldable and teachable (mostly), with a little patience and love.  When my first boy was this little I made a 'personaity book' of all the little bits and pieces that made up him.  I wrote down stories and took pictures to compliment them.  Then I compiled them (see pictures below for that book).  As each of  my children have grown up, I've written them a book about this ages also (only one more to go). 


 These books are fun, and have been cherished and read throughout the years. Im so glad these stories have been written or they would have been lost and forgotten, even though my kids personalities haven't really changed that much, just matured :) 
 
 
Jouraling goes on the main pages, under the pictures.
 
 
There are two pictures for each personalilty trait, and they are short pages that hide the journaling.
 
 
 The book shown above is my awesome baby number 4 :)  It was made digitally using the "Big Adventure" freebie collecion by Heather Roselli Designs, that was on the Sweet Shoppe Designs website this year. 
I printed my completed pages on 100 lb. silk cover paper, adhered them back to back, chopped the corners, and had it bound.  My little guy has been carrying it around, looking at the pictures, and having me read the stories to him ever since (so rewarding)!


How to:
 
I wanted to share how I made these albums... my first two kids albums were done with traditional scrapbooking supplies (before I got into digital), and the last couple I did digitally, but the concept and sizes are the same. 
 
 
Main pages - 5x5 inches (usually plain cardstock, because the journaling goes there)
The little decorative edging (with the personality trait on it) is - 2 x 5
Embelish as desired.
Adhere these pages back to back.
 
Photo pages - 3 x 5 inch photos
Adhere them back to back
(note: I have two pictures to show each personality trait)
 
The book has large pages for the journaling and the short pages are the pictures.
Assemble and bind.
 
This is the order my album was made:
Front cover
Mommy love you note (with two favorite photos)
Quote/Dedication page (with two favorite photos)
Personality pages (with two photos showing the personality trait on the page)
My wish for you page (with two favorite photos)
Back cover


Friday, April 24, 2015

New! Shabby Princess Digital Collection

http://sharinashack.com/product/shabby-princess-collection/
 

Wow, let's change things up a little bit :)  So, yes I love paper crafting, but part of me really loves digital design and scrapbooking as well.  Every now and again I get a digital collection idea and the bug takes hold and this is what I end up with :)  Here is my latest edition, the Shabby Princess Collection, for all your shabby, girly, princess, baby needs!  At some point in our lives all girls love a little bit of pink, purple and frills with a little bit of shabbyness to tie it in a bow :)
 
The collection includes 12 papers (300dpi, jpeg format)
and 87 elements (300dpi, png format)
 
I've already created a baby shower invitation for my sisters baby shower with it and it is darling!  Wouldn't it make a fantastic mother's day card, album, page, etc. 

Here are a few views of the collection.


Saturday, February 7, 2015

Sassy Love Notes Premade 12x12, 8x8, 6x6 Album

 
Valentines is almost upon us, are you ready?  Here is a PREMADE album, just add your photos and print for a fun album your loved ones will cherish.  The ”Sassy Love Notes“ Album is made with the Sassy Love Notes Collection, and has 6 double page spreads (thats 12 pages), plus a cover and back page.  The pages can be 12x12, 8x8, 6x6 or any other square size you'd like.
 

Sassy Love Notes Digital Collection

 
We all love it when we find little love notes lying around for us to find. Mix that with a fun, sassy feel and that is what you get with the ”Sassy Love Notes“ collection. Enjoy these classical colors for valentines: red, pink, beige, and chocolate brown. Make some love notes of your own with these great papers and elements.
 
On sale this month for a great deal, only $2.00.


Monday, January 19, 2015

Winter Monster Hats Album

 
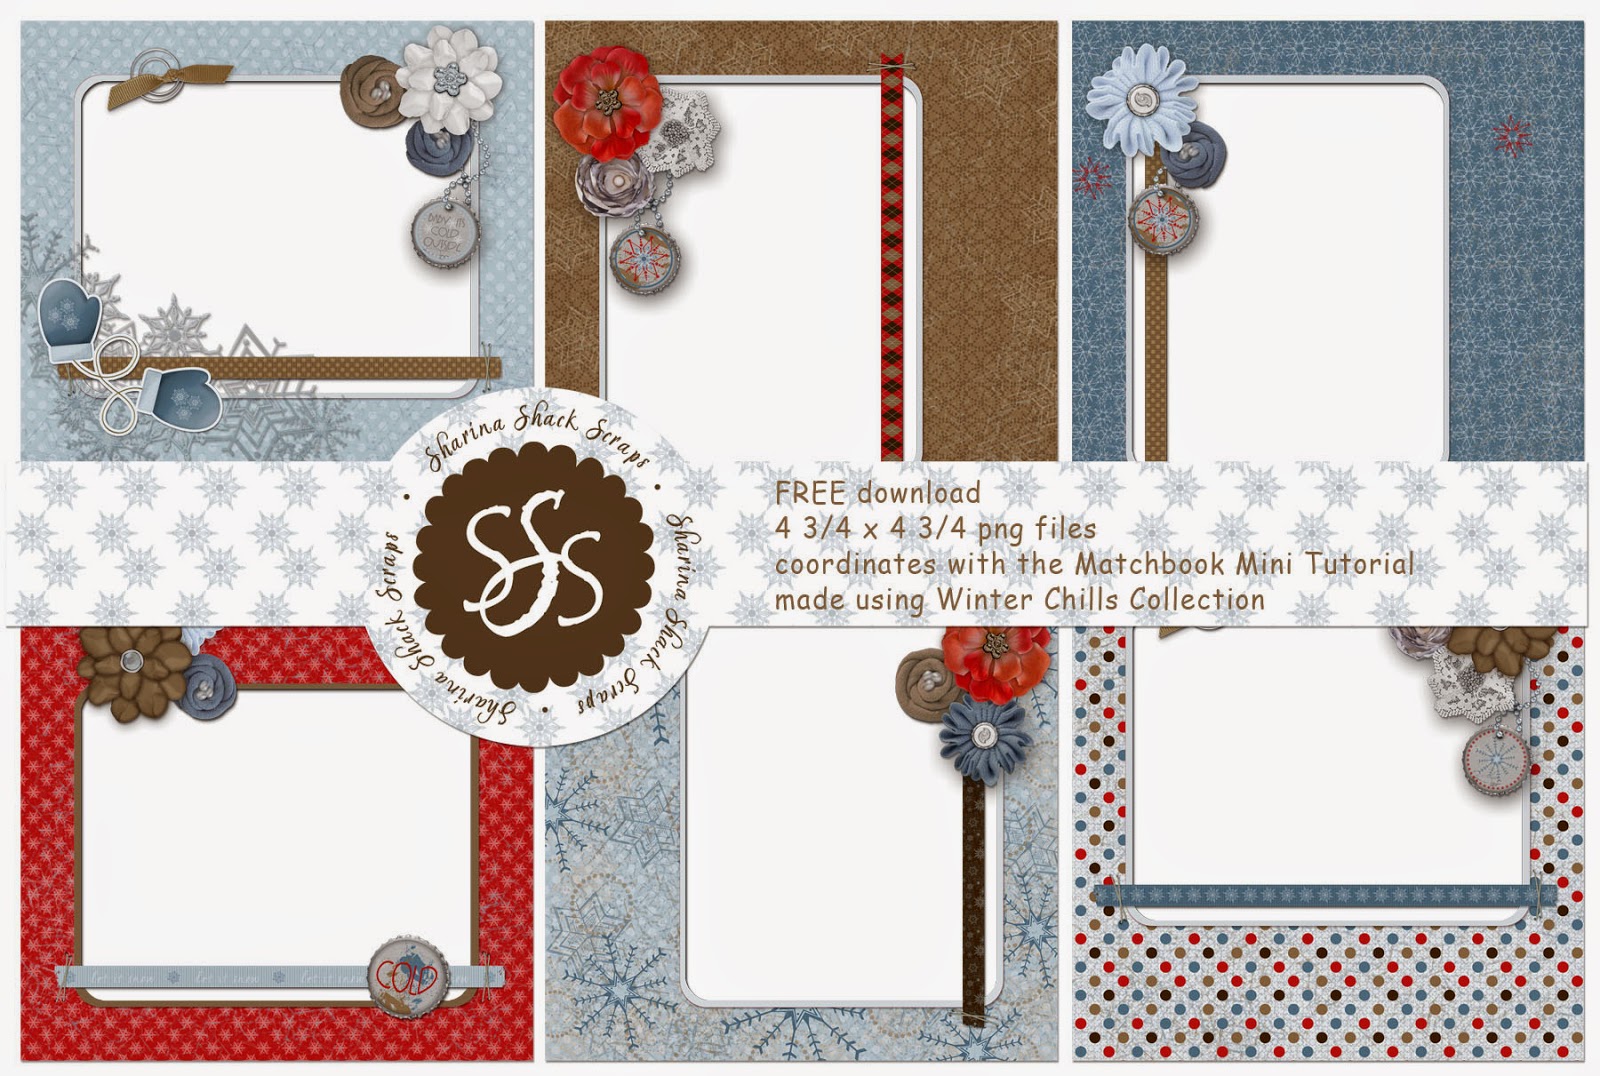
Here's how my Matchbook Mini album turned out .... Love it!  This is FREE tutorial on you tube, showing how to create this album (dimensions included).  Here I have created these pages digitally using my Winter Chills Collection.  Below I have 6 FREE png files for YOU!  Once you've downloaded them, all you have to do is drop in your photos and size them correctly.  Save the file then as a jpeg file and have them printed.  Then add the pages to your album.  Easy as pie!


I choose to add 10 pages to my book (which equaled 20 different pictures), and look how thin it still is.  Click here to get the FREEBIE pages.  Enjoy!

http://sharinashack.com/wp-content/uploads/Hybrid/SharinaShack_WinterCillsHybridFREE.zip
 

Friday, January 9, 2015

Winter Chills Digital Collection

 
Winter finally came here in Utah, on Christmas Day! What a wonderful suprise!  I love winter… everything about it … the delicate white snow fluttering to the ground, the red noses on my kids faces, the snowmen and snowforts, tubbing down the hill, and the warm cocoa that greets you when you come inside from all the fun. Around our house, I don’t think a day goes by that my kids don’t spend some part of the day playing in the snow. As a result I get TONs of pictures and I wanted a kit that would ‘have it all.’ So I created the Winter Chills Collection. It has a fun, playful flavor but still showcases the whimsy.  It is loaded with all sorts of fun embellishments for any snowy day activity and 22 designer papers!  On sale this delightfully winter season.


And if you wanna save yourself a little extra time, here I've already made a bunch of titles, tags, and journaling spots in the Winter Memories Extras.


Thursday, December 18, 2014

Expanded CD Case in Gingerbread

 
This is one of my favorite ways to share the season with family and friends.  I have designed an Expanded CD Case, in this case, using my Gingerbread Digital Collection and Extras.  All you need to do is add your favorite photos of the season to the frame and insert cards, print, and adhere the printed pages to the cardstock ablum.  The directions and dimensions to create this expanded CD are FREE on my you tube video, here. The instructions and digital files to complete the Gingerbread version are on my website, here.   But, what makes this project even more amazing is the CD tucked away neatly in the CD pocket.
 
All of these products are on sale this month :) at www.sharinashack.com

 
Using these templates, link to them is here, and my Gingerbread Digital Collection and Extras, I create a ebook (that's what I call it).  I make as many double page layouts as I need to share all the fun and festivities of the season.  Then burn them to a CD.  You only have to make the digital album once, but you can burn as many CD's as you'd like to give away.  Tuck the CD away into this expanded CD case and give it as a fun gift, as well as keep one for yourself.  The one recieving the CD only needs to pop it into their TV and view your scrapbook.
 
Sample CD pages, below...


If you are TRADITIONAL SCRAPBOOKER, you can still do the same thing, INSTEAD take pictures of the pages you've created traditionally.  Burn that to a CD and share.  The directions and dimensions to create this expanded CD are FREE on my you tube video, here.  Or just burn your pics to a CD and add it to the pocket (no scrapbooking required).

 
I use this idea for more than just the Christmas holidays.  Here is the digital templates you can use for any season, event, or holiday season.  This album can be made using digital and traditional means of scrapbooking.  Happy Holidays!


Thursday, October 9, 2014

Halloween Rules CD Case and Freebie Game

 
Here is a fun example of a Hybrid Album (part digital scrapbooking and part traditional), using my new Halloween Rules Collecion.  This is my Expanded CD idea.  Here I have created the layouts digitally and printed them on 100 lb. silk card (it's a little heavier paper).  Then adhered them to a premade scrapbook made from black cardstock and a black ribbon.  Click here for the FREE tutorial I created on how to make this album, as well as an explination on how to do it digitally (you tube video).  The dimensions are provided on the video.

 
Here is the link to the templates (psd files) for these three main pages (pocket page, CD page, and frame page), as well as the inserts that go in the pocket page. 

 
View with the inserts. 
 
And as always, I have 15+ double page spreads (created using this same kit) showing our family activities, on the CD.  I created a CD case for myself, my mother, and my mother-in-law in 45 minutes to and hour. 
 
And don't forget to pick up the FREE game I created using the 'Today's Event's' card in the kit.  Here is the link to the FREEBIE game (there is a photo of it in the previous post).

 
Here is another example of how versitle this idea is as well.  This is the "All Hallow's Eve" Collection from The Sweet Shoppe, designer Kristin Cronin-Barrow.  Here is the link for this kit.

Monday, September 29, 2014

Halloween Rules Digital Collection

 
Halloween is one of my favorite times of year.  There are soooo many fun activities to do as a family with this fun holiday season.  Every year we take our kids to our local pumpkin patch, then we carve intricate patterns out of them.  We hold a ‘Spooky Dinner’ with games afterward, rake the leaves and jump in them, and of course there is Trick or Treating.  A few years ago, my husband’s family started a new tradition, where we have a family gathering with all the siblings and cousins.  The kids go to a carnival, we eat spooky food, and play more games.  In celebration of all these activities, and more, I designed the Halloween Rules Collection.  Scrapbook ALL the festivities using one collection and have a spooky time!  Here is the link to this collection on my webstie.  And it's on sale this month!!
 
 
Wanna save some time and effort?  This is the Halloween Rules Extras that can be purchased seperately from the origianl collection.  Here is the link to the Extras on my website.  Also, on sale this month. 
 
How do I use these kits? With my 5 kids and all the family activities and holidays, I've started condensing the scrapbooks into 'groupings.' For example, my Halloween scrapbooks for the past several years show the ENTIRE season in one book. I mean, everything. From the pumpking patch, the carving, the family parties, the trick or treating, the carnivals, etc. I do it this way so I only have to think about the style and color scheme of these activities ONE TIME! Because of that, everything in my kit has to fit all these festivities. It's not just a collection about costumes and trick or treating. It will also work fantastic for the hay rides and jumping in the leaves. Here are some of the pages in my digital ebook (my ebooks are 12x12 digital pages, that I place in a double page spread and save). When the book is done, I burn it onto CD's and send them to the grandparents to enjoy.  All they have to do is put it on their DVD player and watch the book on their big screen TV's. You can also save any videos you took of the season onto the CD to keep everything together.


I love to create silly games for our family spooky dinners and festivals.  Here is a silly game made using the TODAYS EVENTS cards from this collection ... for FREE!  The kids pick a card and have to act out what is on the card.  Play it like cherades or use it when the kids come trick or treating (they have to do a trick before they can get a treat).
 

http://sharinashack.com/wp-content/uploads/Digital%20Products/SharinaShack_HalloweenRules_FreebieGameCards.zip


Wednesday, April 9, 2014

How I create my Digital Mini Albums

 
I am using the "Sweet Rain" Waterfall Paperbag Album in my examples here... First of all, I drag my photos into photoshop and drop them into the different "Sweet Rain" Mini files (as I've shown in my Expanded CD Case and Matchbook Mini you tube videos) and save them as jpeg files.  I've talked to my local printing stores and know that they carry the type of paper I like to print on for these files (I think it's 100 lb. silk, or something like that ... it's what they print Christmas cards and such on).  And they carry it in different sizes.  I usually go with the 11 X 17 size.
 
I create a new page in photoshop that is this size and I drag and drop my jpeg files onto this new page, arranging them so I have as little white space as possible.  NOTE: Be sure NOT to set the images against the edges because the printers don't print to the edge.  I like to start about 1/4 inch or more away from the edges.  Once those are done, I save them as jpeg files, put them on my memory stick  and head to the printing place (although I believe many places you can just upload them straight to there sight).  I need to get out of the house with my two little boys, so we take them in ... (I use Image Pro for those who are local to Cedar City, Utah).  We are only there about 5-10 minutes before I have my sheets of cardstock printed and I'm eager to get home and create my mini.

 
Using the pattern that comes with the digital images, I cut out my printed 'elements' and organize them into pages. 

 
All that is left is to follow the directions in the pattern to create the interactive elements of the mini album and adhere everything into place.  I am always so excited to see the mini albums come together ... with pictures!  (as I have a lot of traditional mini albums still waiting to have pictures added to them).  Here is the link to this pattern, again.  Here is the link to the video for this project.  Hope this little explination helps.
Happy scrappin!
 

http://sharinashack.com/product/sweet-rain-waterfall-paper-bag-mini-album/
PS This mini only took 3 1/2 printed pages (11x17) to create.  Fill your empty space with photos or another mini ablum :)