Showing posts with label tutorial. Show all posts

Tuesday, April 21, 2015

Book in a Box Tutorial (part2)


These photos are of the completed Book in a Box that I used to demo my Book in a Box you tube tutorial.  I used "Sweet Memories" paper collection from Colorbok and red, green and pink coordinating cardstocks.  I added a bunch of bling for a more fabulous spring and girly look!  I also stamped some journaling places on the tag inserts and added a bit of ribbon.  I may even add a stick pin or charm to it later :)


Thursday, February 12, 2015

Burlap Banner Tutorial

 
It's a beautiful day! and there is so much to be grateful for ... as I have been creating these simple projects I've been pondering the things that I love most.  I started with a list:  my family, friends, religion, home, talents, and much more.  My thoughts have turned to 'why' I am grateful for these many things and the impact they have had in my life.  While creating this banner think of one thing you are grateful for and why. You'll come away with a darling display and a HEART full of LOVE!
 
Materials: burlap, Stiffy (or fabric stiffiner, Modge Podge works great too), stencil brush,  scissors, paint of your choice, a piece of scrap cardstock, trim.
 
How to:
1.  Cut a length of burlap 7 inches tall (I used a light burlap here).
2. (optional step) Turn under one long edge 1 inch, sew it down to form a casing for your trim.
(you could also hot glue it down to form a casing)
3. Stiffen the burlap with Stiffy or other fabric siffener.  Be sure to tap the stiffener into the fibers of the burlap.
4.  Cut triangles from your fabric (with the casing across the top of your triangle pendants).  If you cut them in a VVVV fashion you can use the triangle pendants without the casing for another banner.
 
 
5.  Cut a heart shape from your scrap cardstock (or use a template) and center it on the pendant.

 
6.  Using paint and stencil brush tap STRAIGHT DOWN forcing the paint into the fibers of the fabric.  Remove the stencil and allow it to dry. 

 
7.  (optional) I added a little extra color to the edges of the pendants by inking up the edges with Distress Ink (Tim Holtz -vintage photo). 
 
Repeat for all pendants.

 
8.  Thread the pendants onto your trim (I used jute), and add a dab of hot glue to each opening to hold pendant to the trim.  This will help keep the pendants from sliding into each other as it hangs.

 
Hang and enjoy!

Wednesday, February 11, 2015

Button Heart Frame Tutorial

 
Welcome to Day 3 of my everyday Valentines fun.  Here is another fun idea for you ... and oh so simple!
 
Materials: frame, buttons, designer paper, trim, glue.
 
How to:
1. Cut the designer paper to fit in the frame (may or may not have a glass front).
2.  Lightly draw a heart on your paper with a pencil.
3.  Dump a handful of buttons on your paper and begin re-arranging until you have a basic heart look.  (Note: there can be gaps in random places, that what the second layer of buttons is there for).
Adhere those buttons down.
4.  Arrange a second layer of buttons on top of the first ones.  Be sure to cover any holes and spots that you don't like.  Adhere those buttons down.
5.  Place your creation in your frame.
6. Tie trim or a strip of fun fabric around the entire frame.


Credits: I used the leftover pieces of sample paper from my LOVE banner project to create the background paper.  Frame from Ross.

Monday, February 9, 2015

Loves of My Life Tree Tutorial

 
I think this has been my favorite DIY project, because it combined four LOVES of my life(photography, scrapbooking, making home deocr, and my family)!!! 
 
Materials: 3x4 printed pictures, black cardstock, scrapbook embellishments, mini clothes pins (or clips of some kind), a 6 inch tall vase, floral foam blocks, paper confetti, some 2 -3 feet tall, skinny sticks.
 
How to:
1. Print your pictures at approximately 3x4 inches.
2. Cut black cardstock at 3 1/4 x 4 1/4 inches (as many as you have pictures).
3.  Adhere pictures to the cardstock.
4. Embellish photo cards as desired.
(Note: you can use mini close pins, clips or any means that works
for you to attach your picture cards to your tree.


5.  Push the foral foam blocks or pieces, into the vase.  Make sure they are secure and won't wobble around.  Glue them into place if needed.
(Note: I got this vase at the DI for .75 cents, but you could always
buy and unfinished one also and paint it the color you want - I got lucky!).


6.  Poke the sticks into the floral foam so the branches are scattered. 
Secure the branches into place with hot glue.
 
 
7.  Cover the floral foam with paper confetti and glue it down.
(Note: you could also cover it with candies, crete paper, etc.).
8.  Add an embellishment (found this heart pick at Walmart).

 
9.  Pin, clip, or tie your picture cards into place on your Loves of Life tree.
 
Display and enjoy the smile this project brings to your life!

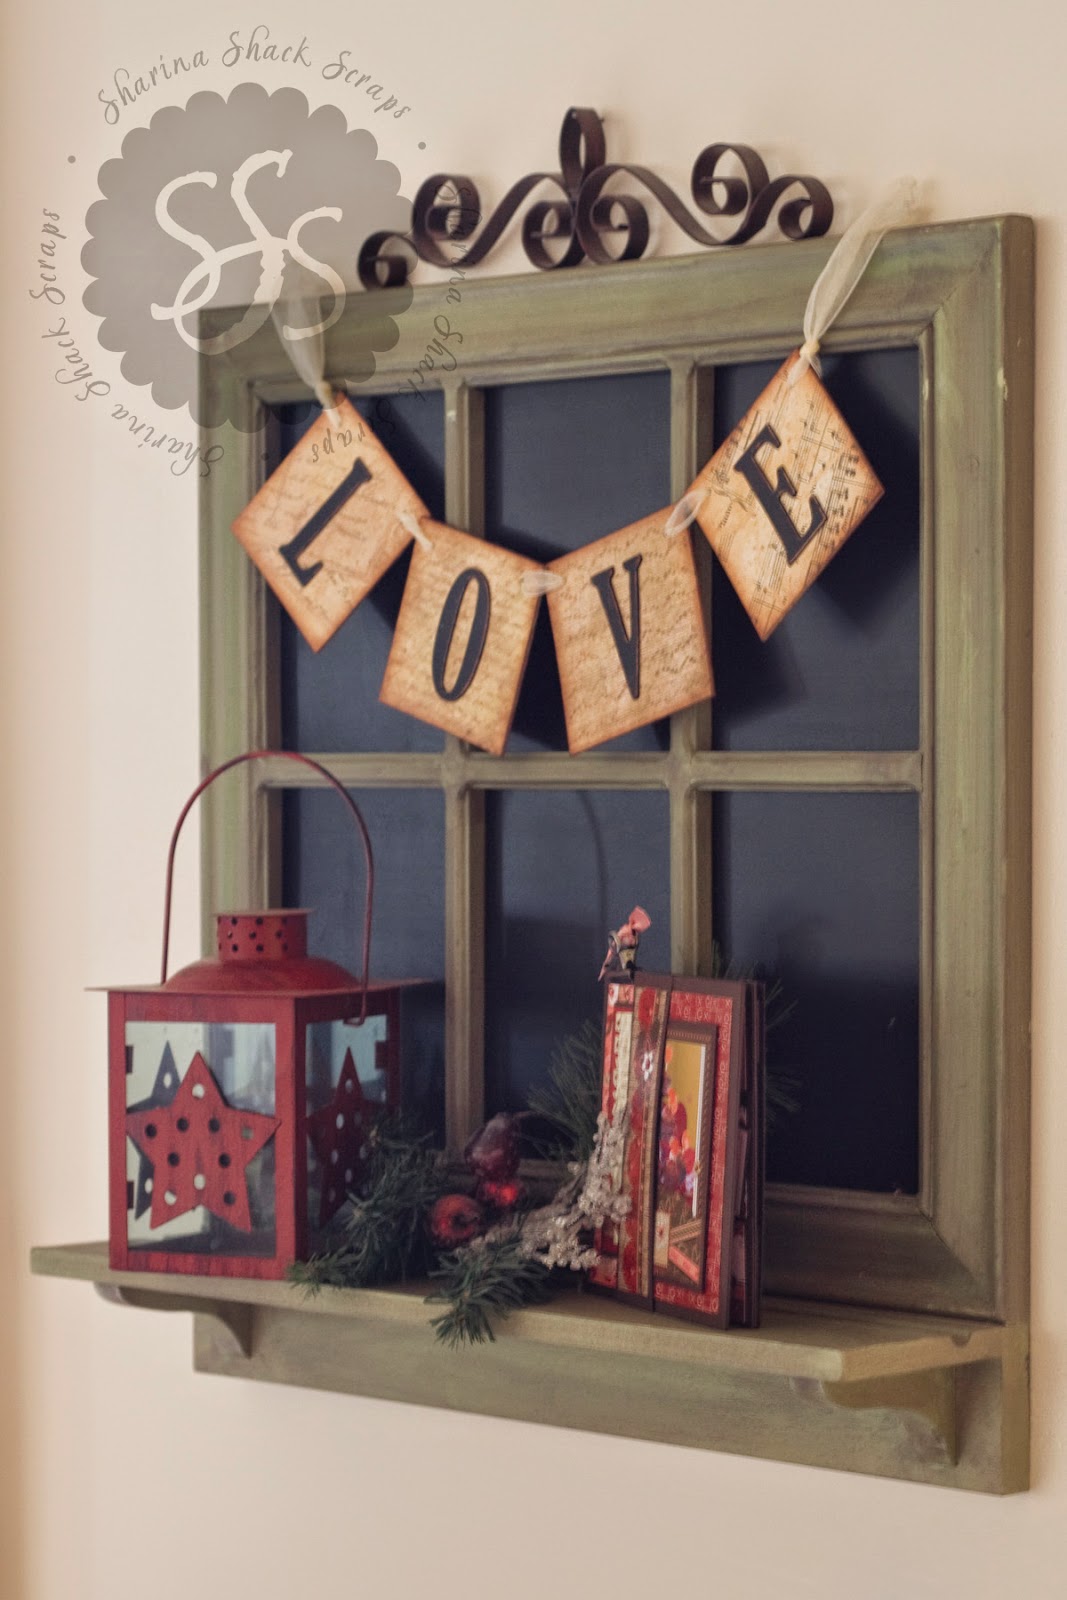
LOVE Banner Tutorial

 
I have been working on some quick and easy Valentines decor this past week.  I was going to post them all in one post here, but I have decided to bring everyone a little bit of love everyday this week instead. So ...
 
First project share for this wonderful week of Valentines is a small and simple "LOVE" banner.
This banner came together extremely fast. Usually I like to add lots of fun texture, dimension, and elements to a project, however this one I kept very simple. I created it to use for multiple purposes ... valentines decor banner, to hange behind my infant during infant photoshoots, or to have couples holding it during engagement photoshoots. Because of these dual functions, simplicity was a must.
I LOVE how it turned out.
 
Materials: chipboard, designer paper, chipboard letters (or stencil the letters on), hole punch, and ribbon.
 
How to process:
1. cut 4 chipboard squares 3 3/4 x 3 3/4.
2.  cover the chipboard with designer paper.
3. prepare chipboard letters (or letter stencils) and adhere one letter to each square.
(Note: I painted chipboard letters black, then sanded the
edges.  Finally, I inked the distressed edges for
a more worn look).
4. Punch holes in the top two corners of each square.
5. Thread a 32 inch piece of ribbon through the holes.
(Note: I also hot glued the ribbon to the back of the chipboard
so that it wouldn't shift when hanging).
6. To make the loops on the ends (for hanging) I folded the remaing ribbon towards the back of the banner and  hot glued them to the back.  Then I tied a knot it the double layer of ribbon to the side of the chipboard.


Banner is approxiametly 16 inches when hanging.
 
Creidts: Provo Craft samples paper, and "Chip Chatter" tall letters from Pressed Petals