Showing posts with label banner. Show all posts

Monday, June 22, 2015

Quick Banners

 
Quick, easy and just the thing to add a little celebration to your home ... the Burlap Stars Banner.  This would also look super cute with bits of tattered fabric hanging between the pendants. 
 
 
And here is a new idea for you ... every wonder what to do with all those jeans your kids grow out of or that have huge holes in them?  At first, I saved the pockets so my kids to 'create' with them.  When I was thinking about 4th of July banners I thought this would be a great idea for those hundreds of pockets.  This is an eclectic assortment of pockets from various pairs of kids pants.  I sewed them together, leaving a 1 inch space between the pockets for strips of patriotic fabric.  Took me a matter of minutes to put this banner together.


Friday, June 19, 2015

4th of July Chipboard Banner

 
Summer is in full swing and the 4th of July is approaching quickly.  I hope everyone is enjoying their summer with vacations, celebrations, and family!!!  I've been spending the majority of my time shooting photos and spending lots of time with my kids :)  But I do have a few fun projects to share with you.
 
I have become addicted to making banners ... lol.  So let's start with those, as they are fairly quick and easy ... and super fun!  This is my 4th of July banner. 
 
 
Here are the Dimensions/Tips for this banner:
Each pendant is 5 1/2 x 4 1/2
(measure 1 1/2 up, in the middle to form the triangle that is cut out of each bottom section)
Gears- Tim Holtz die cut gears from chipboard (then I alcohol ink and distressed them)
Letters- I used a stencil and white paint on burlap paper, then outlined them with a pen
Trims- tan twill, cheese cloth, red and cream lace, and white ric rac
Flowers- are homemade using solid papers
Extra- wood pieces I had in my stash, and some bling (Stickles and gems)
Paper- Scenic Route "Liberty" and chipboard pieces


Sunday, March 15, 2015

LUCK banner


Okay, so I've been on a banner kick lately :)  I actually created this one last month, but was saving it to share with you for St. Patrick's Day.  I kept it quite simple. 
(chipboard letters, glitter, burlap paper, pages from an old book, jute, flowers, buttons, charm).
 
I have a darling little 5 year old boy with RED hair (only he'll tell you it's orange, not red).  He was born in March as well and I've always thought of him as my own little lucky Leprichan.  He holds a special place in my heart and loves snuggles and hugs (which I soak in!!).  He is sweet, kind and very tender hearted (not what is often referred to as a typical red head).  He makes me smile and laugh AND he has a Big Head (size wise)...lol.  His face is so adorable, and full of freckles, it reminds me of a puppies face.  I laugh every time I look through my photos, cause I have tons of pictures of his head (and face) ... lol!
 
Wishing you all the best of LUCK this fun holiday!
 
 
I thought a small chunky charm with gold nuggets would bring a little extra fun to the banner.


Monday, March 9, 2015

Flower Banner Tutorial


FYI the Live class went great for everyone but me (technical difficulties) ... lol! Everyone had fun though. I rerecorded the video, however, so that later viewers wouldn't be lost and confused.
 
I finished the banner also, here are the pics...


Friday, February 20, 2015

LIVE Banner crop


Wow!  Okay, I've taught lots of classes, but never LIVE international and I'm a bit nervous and extremely excited! I hope all the internet and computer stuff goes smoothly (I've been practicing).  Sit back, relax and take notes OR pull out your supplies and get ready to CREATE! 

I revised the video .. here is the link. 
 
Here is a general list of materials you are going to need to create this banner project...
(this makes a 5 pendant banner, so adjust your supplies as needed)
 
12x6 piece of chipboard
Cut 5 - 4 1/4 x 6 1/4 of designer paper (I used 5 different papers)
Hole punch/Cropadile
Modge Podge (or a sealer)
Paint brush for Modge Podge
Trims as desired (lace, jute, twine, ribbon, etc.)
Embellishments as desired (flowers, burlap, letters, bling, etc.)
Adhesive of choice (I tend to use a lot of hot glue)
 
Here are a few ideas to get your brain creating .... whooo hooo!

 
I made this banner for my swap partner in Mini Album Swaps and More on facebook.  She requested a little shabby chic boy banner with the word ANGEL on it.  I used cardboard to pop the chipboard letters up, trims, some clay animals, and a bit of burlap.


This one hangs in my scrap room, more pictures on a post further down.  I used burlap paper to pop the chipboard letters up, homemade flowers, trims, buttons, flowers, and bling.  Love this one!
 
 
Or keep things really simple like these ...
 
 
Tamra made this one :)  Darling!
 
 
Here's one more, just for fun :)


Monday, February 9, 2015

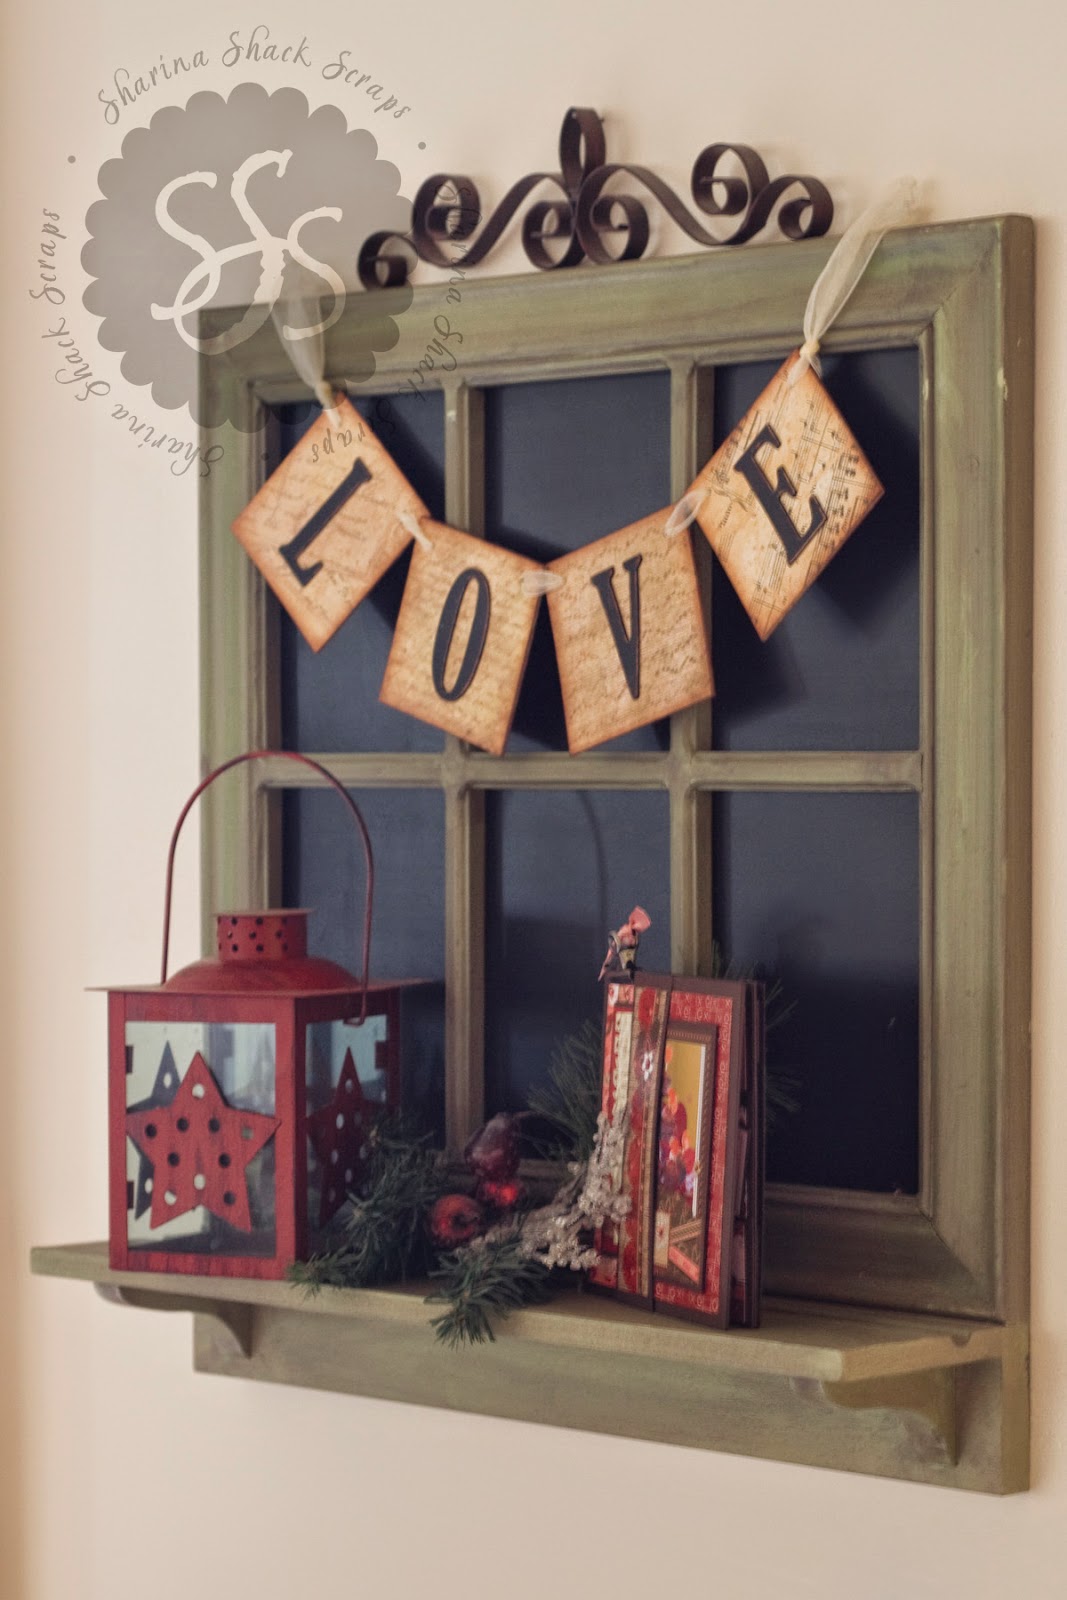
LOVE Banner Tutorial

 
I have been working on some quick and easy Valentines decor this past week.  I was going to post them all in one post here, but I have decided to bring everyone a little bit of love everyday this week instead. So ...
 
First project share for this wonderful week of Valentines is a small and simple "LOVE" banner.
This banner came together extremely fast. Usually I like to add lots of fun texture, dimension, and elements to a project, however this one I kept very simple. I created it to use for multiple purposes ... valentines decor banner, to hange behind my infant during infant photoshoots, or to have couples holding it during engagement photoshoots. Because of these dual functions, simplicity was a must.
I LOVE how it turned out.
 
Materials: chipboard, designer paper, chipboard letters (or stencil the letters on), hole punch, and ribbon.
 
How to process:
1. cut 4 chipboard squares 3 3/4 x 3 3/4.
2.  cover the chipboard with designer paper.
3. prepare chipboard letters (or letter stencils) and adhere one letter to each square.
(Note: I painted chipboard letters black, then sanded the
edges.  Finally, I inked the distressed edges for
a more worn look).
4. Punch holes in the top two corners of each square.
5. Thread a 32 inch piece of ribbon through the holes.
(Note: I also hot glued the ribbon to the back of the chipboard
so that it wouldn't shift when hanging).
6. To make the loops on the ends (for hanging) I folded the remaing ribbon towards the back of the banner and  hot glued them to the back.  Then I tied a knot it the double layer of ribbon to the side of the chipboard.


Banner is approxiametly 16 inches when hanging.
 
Creidts: Provo Craft samples paper, and "Chip Chatter" tall letters from Pressed Petals


Thursday, February 5, 2015

Vintage DREAM banner

 
They just posted a banner swap in my group and I couldn't wait to give it a try, so I created this banner for my design space.  The pendants are 4 3/4 x 6, cut into triangles.  I had SOOOO much fun creating this I have ideas to create a bunch more.  This could be a new fad for me :)
 
The rest of these photos are detailed shots of the pendants, showing better dimension and texture.


This was WAY TOO MUCH FUN!!!