Friday, October 2, 2015

Harry Potter Halloween Mystery and Feast

 
I've wanted to do a Mystery Dinner for a few years, but it hasn't happened.  This year I decided I was going to do my best to make something similar happen, as a new, fun family tradition.  After much searching the web I came across 'just Sweet and Simple' blog and loved all of the ideas, printouts, and mystery dinner story.  After reading through it however, I knew my kids were still too young, so ... I decided to make a Harry Potter Mystery for kids (kind of like a play, they act out impromptu as they uncover the mystery).  With some help from my creative husband, I wrote a children's script that can easily be adapted to any household and any number of people (their are a few, short, adult parts as well). That story and print outs are at he bottom of this post. Then I set to work turning our home into the world of Harry Potter. Most of my print outs and lots of my décor ideas (and tutorials) came from 'just Sweet and Simple' blog Mystery Dinner party.    Otherwise I tried to use what I had to make it fun.  My son folded these origami owls from newspaper.to deliver the invitations.  Then we painted them black and added some googly eyes.


I like to use plastic table cloths to cover the walls and furniture (like entertainment centers, shelves, cubbies, etc.) for the evening.  You don't even need tape often, because they are so staticy, they just stick.


I used a brown hand towel and some raffia to make Mandrakes ... lol!


Random spooky things from the Halloween section at thte local stores http://sharinashack.com/wp-content/uploads/DigitalProducts/MysteryoftheStolenCandy.zipfit the Harry Potter theme well.


Tutorial for this fun wall is on 'just Sweet and Simple' blog
 
 
I love to use large cardboard boxes to create (I guess I never grew out of it as a kid).  Add a bit of paint here and there for a fun look.  Then hang some lights and some spooky cloth.
 
We transformed out garage into the Great Hall, with a bit of paint and some card board boxes.  We had a pot luck taco salad bar with treats and butter bear (root beer).


Tutorial for the sorting hat is on the 'just Sweet and Simple' blog.


My family was awesome and enjoyed playing along, including wearing costumes to fit their characters (can you guess who is who?)  After the feast we played Halloween games in the Great Hall and enjoyed each others company.  We videoed much of the event and have enjoyed watching it many times (the best of home videos, nothing fancy).
 
 
We had so much fun doing this, we'd like to share it with you.  Here is the pdf script to "The Mystery of the Stolen Candy."  Also included are the memos/script, and evidence you need to complete the mystery.  Replace the 'character' names on the pdf script with the characters you've chosen to read each part (example: Harry, Hermoine, Luna, etc.)  Print the 4 script sheets, and evidence sheets on cardstock.  Put the 4 script sheets back in your printer and print the MEMO sheet on the back of each one.  Cut out the cards and laminate them.  Then you can write on the line above the MEMO the characters name.  I taped the memo cards in the corresponding room they would be read in, so they would be easy for the characters to find each part.  Have fun!

Saturday, September 12, 2015

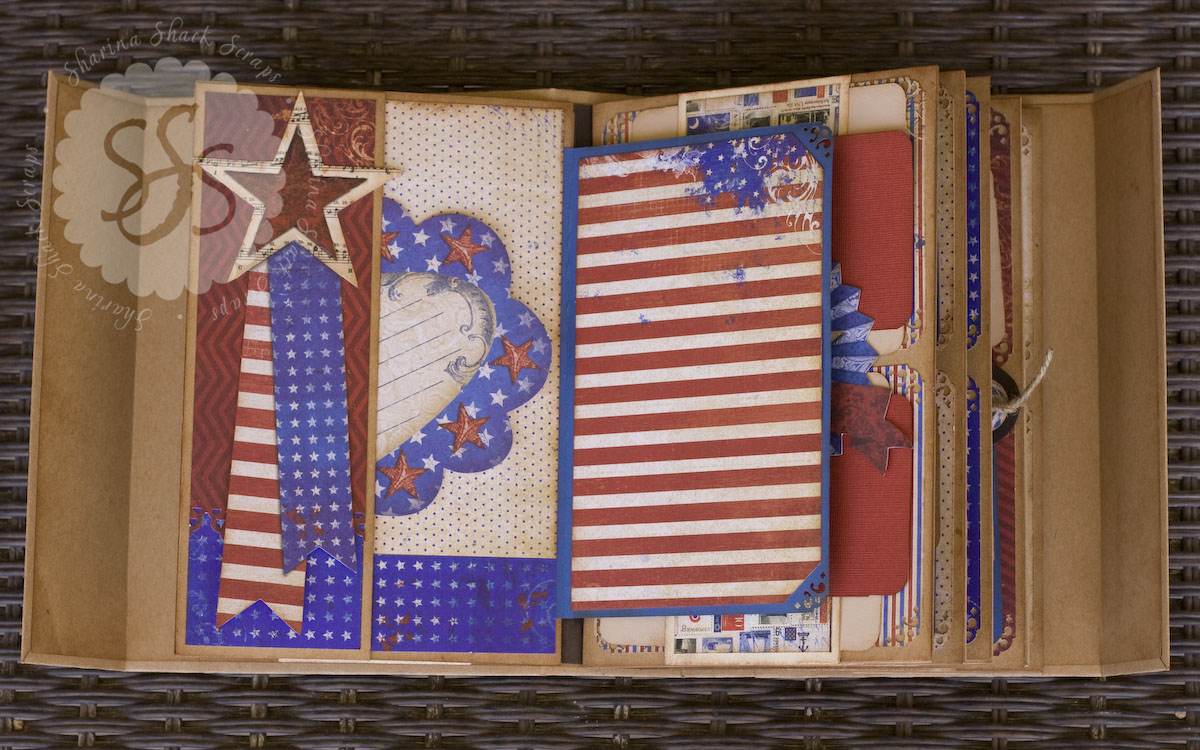
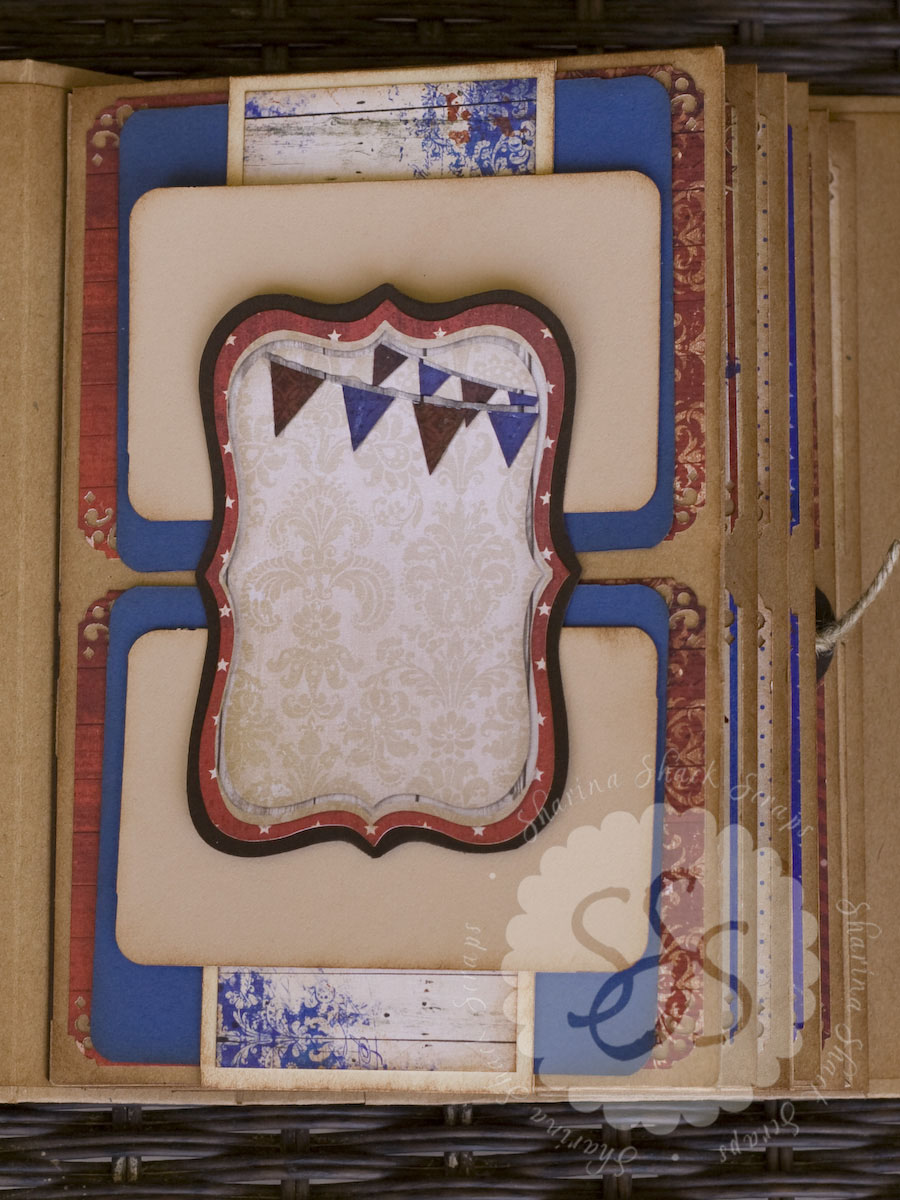
Gatefold Halloween Album

http://sharinashack.com/product/gatefold-occasions-album/
 
Every year I get sooo excited for the Halloween/Fall season.  The summer heat fades and temperatures become pleasant (in Utah), I get into a crafty mood again, and we have sooo many fun traditions that I get so excited for!  To kick off the season I thought I'd share this Gatefold Halloween Album created a few years ago.  It requires no chipboard and comes together quite easily.  The pattern is found here on my website and is on sale this month for a great price!
 
 
Be sure to poke around the shop and look for other patterns of varying degrees of difficulty and prices.  Look up the videos on my you tube channel for a better tour of the album(s) and you might just run into several of the FREE tutorials I've done as well.  Be sure to subscribe to my channel while you are there. 
 
Happy Haunting!


Aladdin Jr. 2015

 
Where have I been?  This summer I have dedicated a LOT of time to Cedar City Children's Musical Theater production of Aladdin Jr.  Early on I knew I had to be a part of this fabulous production (behind the scenes).  I dabbled in a little bit of everything, such as, scenery, costumes, publicity, photography, and back stage help.  It was SOOOO rewarding and fun to see the talent of these 240 kids.  Word spread quickly how fantastic this was and we sold out the show 3 of 4 nights (the last night, we had 100 people in the lobby just hoping they could still get a seat).  A big thank you to the kids, directors of various parts of the show, and all the new friends I made. 


Thursday, July 9, 2015

Mixed Media 4th of July Projects


Just some other fun projects I made to compliment the rest of my paper crafting décor :) 
 
Above: is a flat canvas.  I used alcohol inks, paint splatters, texture paste for dimention, star stamps, bling, glitter, a bit of fish net and cheese cloth, homemade and store bought flowers, lace, seashells, bottle cap, and coordinating papers (papers are G45 "Place in Time."  This canvas coordinates well with the large tags I made for each season (It's project #4 of this post, look for July).
 
Below: Is a 4x4 wood block I adhered papers to.  I also drilled crooked and random holes in the top to fit BBQ skewers with accordion flowers on.  Then I decorated a tall tint to coordinate.  This is a fun, heavy duty decoration.
 

Monday, July 6, 2015

Country Clock


Looking to add a little home décor to your home and still have a place to preserve all those fun memories of the season.  This Country Clock is LOADED with space for the entire season.  Tell your story with pictures of vacations, parades, trips to the beach, family BBQ - all bundled up into this clock.  You'll be amazed at how this holds together (it's pretty awesome)!  The tutorial also includes tips and tricks on how I made the clock face look real :0
 
Link to the video showing this project.

Pattern is on sale this month!


Monday, June 22, 2015

Quick Banners

 
Quick, easy and just the thing to add a little celebration to your home ... the Burlap Stars Banner.  This would also look super cute with bits of tattered fabric hanging between the pendants. 
 
 
And here is a new idea for you ... every wonder what to do with all those jeans your kids grow out of or that have huge holes in them?  At first, I saved the pockets so my kids to 'create' with them.  When I was thinking about 4th of July banners I thought this would be a great idea for those hundreds of pockets.  This is an eclectic assortment of pockets from various pairs of kids pants.  I sewed them together, leaving a 1 inch space between the pockets for strips of patriotic fabric.  Took me a matter of minutes to put this banner together.


Friday, June 19, 2015

4th of July Chipboard Banner

 
Summer is in full swing and the 4th of July is approaching quickly.  I hope everyone is enjoying their summer with vacations, celebrations, and family!!!  I've been spending the majority of my time shooting photos and spending lots of time with my kids :)  But I do have a few fun projects to share with you.
 
I have become addicted to making banners ... lol.  So let's start with those, as they are fairly quick and easy ... and super fun!  This is my 4th of July banner. 
 
 
Here are the Dimensions/Tips for this banner:
Each pendant is 5 1/2 x 4 1/2
(measure 1 1/2 up, in the middle to form the triangle that is cut out of each bottom section)
Gears- Tim Holtz die cut gears from chipboard (then I alcohol ink and distressed them)
Letters- I used a stencil and white paint on burlap paper, then outlined them with a pen
Trims- tan twill, cheese cloth, red and cream lace, and white ric rac
Flowers- are homemade using solid papers
Extra- wood pieces I had in my stash, and some bling (Stickles and gems)
Paper- Scenic Route "Liberty" and chipboard pieces