

As I looked around my Valentines décor, I realized that I was lacking some textiles. After a short search on Pinterest to get some ideas (that means you have to limit your time looking at ideas or you could spend all day looking and no time creating), I found myself interested in pillows. So I pulled out my red, black, and cream fabric stash. The pillow embroidery (below) I had finished a couple of years ago, but hadn't decided how I wanted to display it yet. My girls came in and quickly jumped on board wanting to make a fun project as well - so they joined me (I love it when they do that!!) It takes longer, cause I end up helping them, oh, but it is totally worth the extra time to be with them, building a fun memories and loving relationships, as well as teaching them all these fun skills!!
To make the pillow above (and the one's my girls made) ...
1. I simply cut a heart from a piece of scrap paper (we all have different heart patterns).
2. We took bits of scrap fabric and ironed them onto "Heat n Bond" iron on adhesive (can get it at Walmart or JoAnns). Then we traced our heart patterns onto the fabric bits and cut them out.
3. Remove the backing "Heat n Bond" from the hearts and lay them on the front panel of your pillow till they are where you want them and the order you want them (as you can see, we have different ideas about style :) Iron the hearts into place.
4. Take a needle and embroidery thread and do a running stitch around each heart. You can change it up for XXX's or other stitches as you desire.
5. Add any other elements to your pillow now(we used buttons).
6. Then place the back panel and decorated front pillow RIGHT sides together and sew the pillow together LEAVING a 3-4 inch hole in the center of one of the sides of your pillow.
7. Stuff your pillow, then stich the hole up using a blind hand stitch.
Note: (insert this step between 5 and 6), if you want to add fringe to the edges of your pillow, pin the fringe into place between the to layers of fabric (the fringe on the inside of the pillow), then sew the pillow up. If the fringe is a bit crazy (like mine is), base stitch it to front panel of your pillow before sewing the pillow together.
To make the pillow below...
1. Sew a simple embroidery scene (make it up or find a pattern) on a 8x8 pieces of muslin with "warm and natural" (looks like felt).
2. Cut 2 1/2 - 3 inch strips of various fabric pieces for the different sides of your pillow.
3. Sew the strips of fabric to the desired sides of your pillow.
4. Cut a back fabric for your pillow the same size as the pillow front.
5. Then place the back panel and decorated front pillow RIGHT sides together and sew the pillow together LEAVING a 3-4 inch hole in the center of one of the sides of your pillow.
6. Stuff your pillow, then stich the hole up using a blind hand stitch.
Have a little fun with the ones you LOVE creating these HEART warming pillow ideas!!

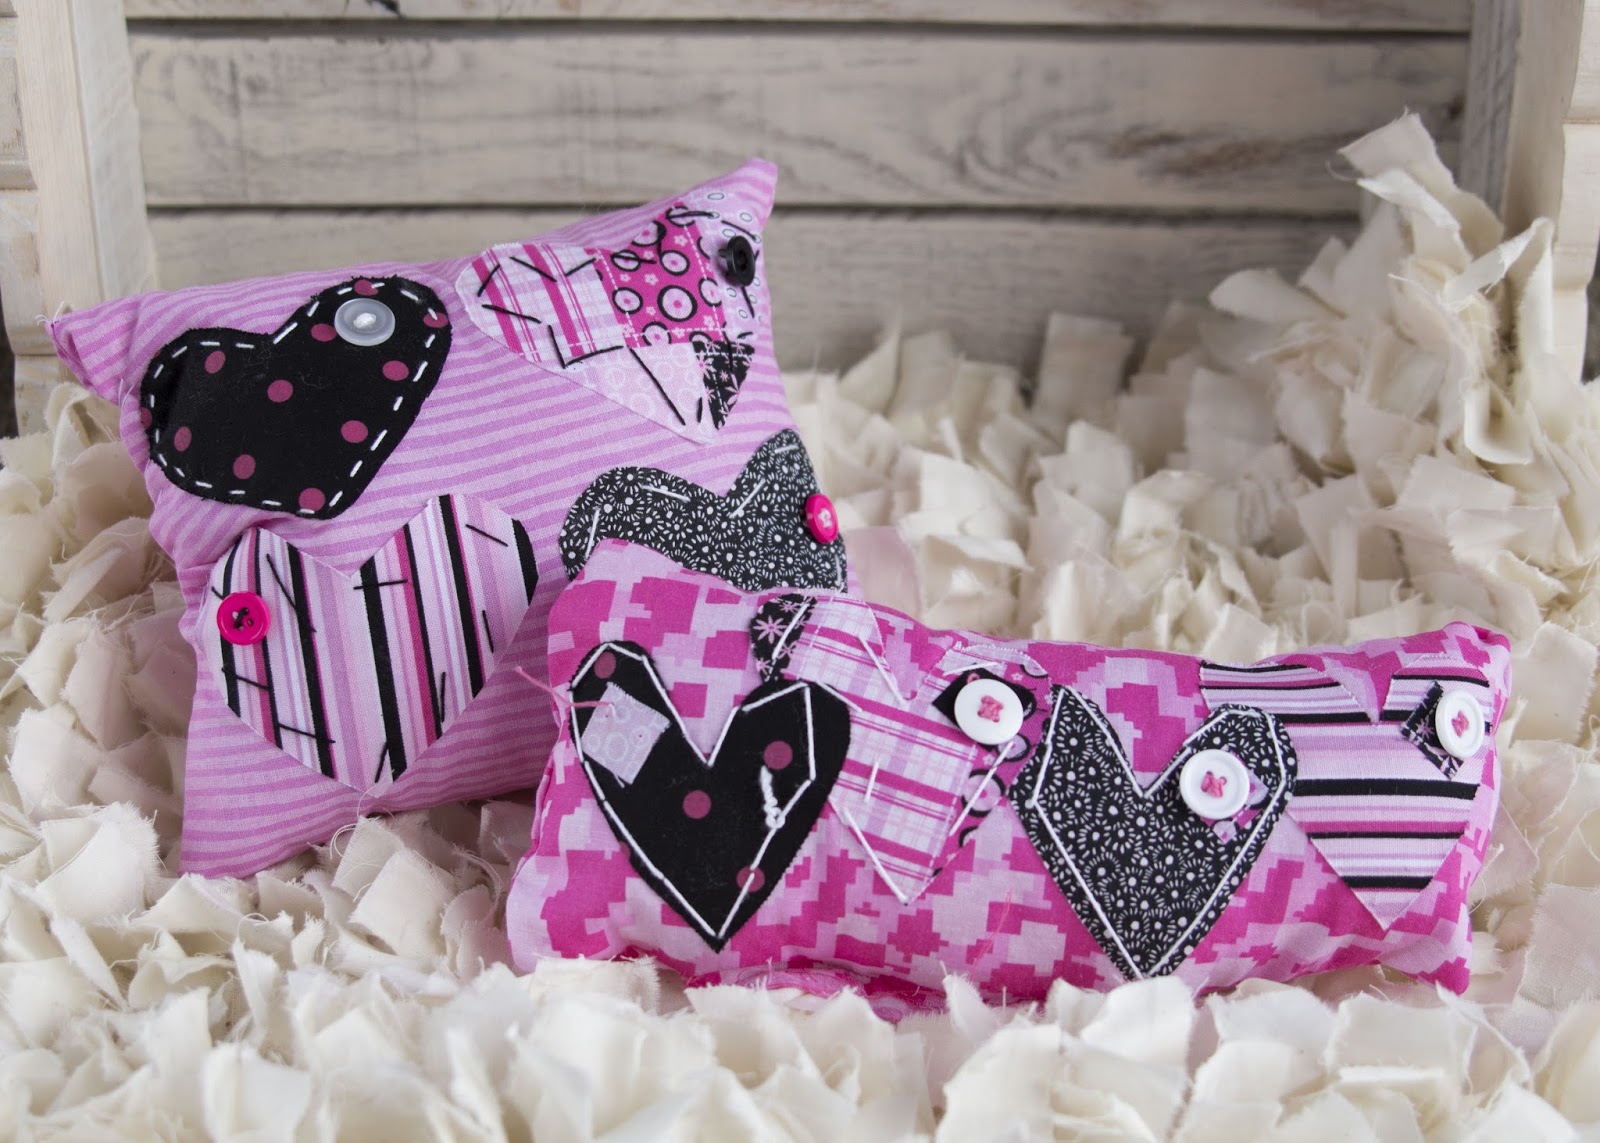
Here are the pillows my girls made... they had so much fun and it didn't take too long (so they were able to stick with the project till it was done). We laughed a lot, learned a new skill, and just enjoyed chatting with each other!!

No comments:
Post a Comment