Showing posts with label home decor. Show all posts

Monday, February 8, 2016

Valentines Paper Crafting Ideas


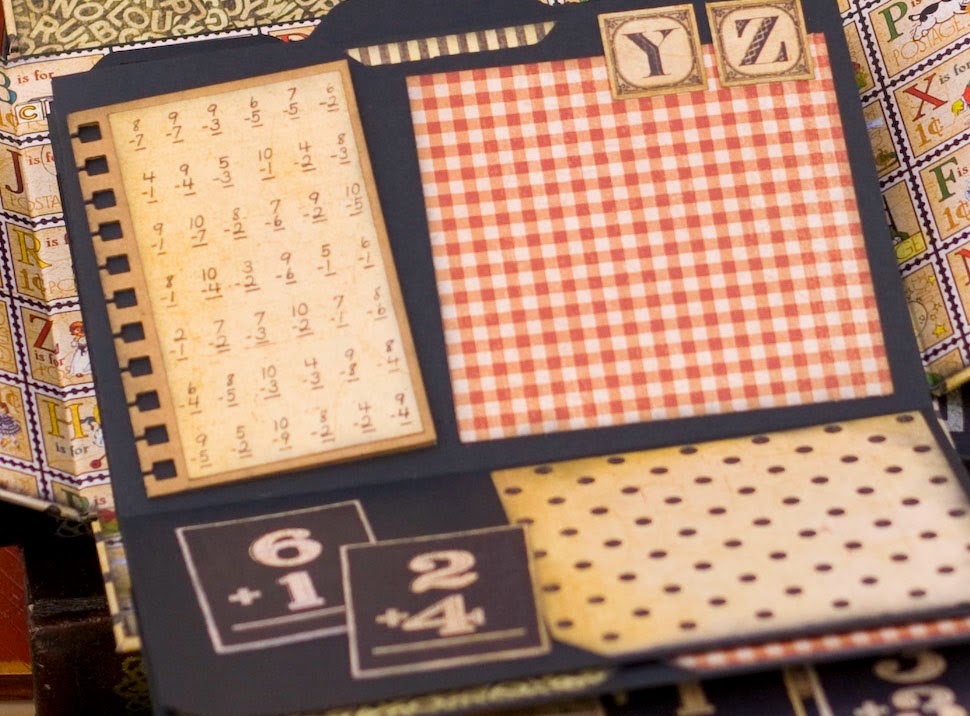
When I pulled out my Valentines decor this year, the bird cage I made last year was ... squished and looked like a lot of work to fix.  Later I walked by a shelf that I had placed a red painted mailbox that I purchased at the DI a couple of years ago (and hadn't yet covered and decorated -although that was the plan :)  Suddenly the destroyed bird cage and the unfinished mailbox clicked in my head.  I covered the (already painted red) mailbox with some leftover paper.  I pulled all the pretty elements off of the bird cage (the flower, burlap bow, sparkle heart, butterfly, etc.) and rearranged them on my mailbox -then glued them down.  It took about 5-10 minutes.  Later that day (when I had 20 minutes) I made some cutsy envelopes with the scrap papers to go inside the mailbox.  Oh, and by the way the paper I used is from a Back to School collection (Graphic 45 ABC Primer) and has nothing to do with Valentines Day. LOL  Who knew!!!
 
Moral(s) of the story:  1) it's okay to reuse bits and pieces from past projects or décor (and it saves time).  2)  When inspiration strikes- go with it!  :)  3) use the paper and elements you have lying around to create new adorable things.
 

Of course this little project redue got my brain paper crafting, so I decided to make a few more bits with the other pieces of leftover paper I had lying around.  This frame was supper quick.  I cut the background piece the size of the frame (5x7), then I cut out enough hearts to fill the frame.  I bent them in half and adhered them down using only the center crease.  It is a perfect, coordinating element with my mailbox. 


Have a LOVEly Valentines Day weekend!!!

Tuesday, February 2, 2016

Valentines Pillows


As I looked around my Valentines décor, I realized that I was lacking some textiles.  After a short search on Pinterest to get some ideas (that means you have to limit your time looking at ideas or you could spend all day looking and no time creating), I found myself interested in pillows.  So I pulled out my red, black, and cream fabric stash.  The pillow embroidery (below) I had finished a couple of years ago, but hadn't decided how I wanted to display it yet.  My girls came in and quickly jumped on board wanting to make a fun project as well - so they joined me (I love it when they do that!!)   It takes longer, cause I end up helping them, oh, but it is totally worth the extra time to be with them, building a fun memories and loving relationships, as well as teaching them all these fun skills!!
 
To make the pillow above (and the one's my girls made) ...
1.  I simply cut a heart from a piece of scrap paper (we all have different heart patterns). 
2.  We took bits of scrap fabric and ironed them onto "Heat n Bond" iron on adhesive (can get it at     Walmart or JoAnns).  Then we traced our heart patterns onto the fabric bits and cut them out. 
3.  Remove the backing "Heat n Bond" from the hearts and lay them on the front panel of your pillow till they are where you want them and the order you want them (as you can see, we have different ideas about style :)  Iron the hearts into place. 
4.  Take a needle and embroidery thread and do a running stitch around each heart.  You can change it up for XXX's or other stitches as you desire. 
5.  Add any other elements to your pillow now(we used buttons). 
6.  Then place the back panel and decorated front pillow RIGHT sides together and sew the pillow together LEAVING a 3-4 inch hole in the center of one of the sides of your pillow. 
7.  Stuff your pillow, then stich the hole up using a blind hand stitch.  
 
Note: (insert this step between 5 and 6), if you want to add fringe to the edges of your pillow, pin the fringe into place between the to layers of fabric (the fringe on the inside of the pillow), then sew the pillow up.  If the fringe is a bit crazy (like mine is), base stitch it to front panel of your pillow before sewing the pillow together.
 
To make the pillow below...
1.  Sew a simple embroidery scene (make it up or find a pattern) on a 8x8 pieces of muslin with "warm and natural" (looks like felt). 
2.  Cut 2 1/2 - 3 inch strips of various fabric pieces for the different sides of your pillow.
3.  Sew the strips of fabric to the desired sides of your pillow. 
4.  Cut a back fabric for your pillow the same size as the pillow front. 
5.  Then place the back panel and decorated front pillow RIGHT sides together and sew the pillow together LEAVING a 3-4 inch hole in the center of one of the sides of your pillow. 
6.  Stuff your pillow, then stich the hole up using a blind hand stitch.  
 
Have a little fun with the ones you LOVE creating these HEART warming pillow ideas!!


Here are the pillows my girls made... they had so much fun and it didn't take too long (so they were able to stick with the project till it was done).  We laughed a lot, learned a new skill, and just enjoyed chatting with each other!!

Monday, January 25, 2016

Coffee Filter Wreath for Valentines

I needed to fill a space in my home with a touch of color, but really didn't want to go to the store and get some supplies.  I found an idea on Pinterest to make a coffee filter wreath (filters make great preschool projects and we use them often around our house).  Then I visited you tube for some extra instructions (PS there are a lot of tutorials to make this, just pick a couple to watch for some tips).  
 
Here are the written instructions:
1. Cut a heart out of cardboard the size and shape you want.  (Mine was about 1 1/4 inch thick, but the heart was cut from a piece of 8.5x11 piece of paper, traced to cardboard and cut out).
 

2.   Then I just squished the coffee filters up in my hand with no specific folding technique, just very random.  A tip: Have all the outside edges meet up at the top somehow and the center of the filter a point at the bottom. 
3.  Then I bent the point at the bottom over 1/2 inch or so and adhered it to the edges of the wreath (outside and inside edges). 
Repeat squishing and folding the filters, and adhering them to the cardboard heart, until the wreath is full.
 

At this point you can leave the wreath as is, if you need a white one.  But I needed a pinkish one. :)


4.  So I mixed 3-4 drops of acrylic paint  (red makes a pinkish color) in a container and added 1/8 cup of water to it.  With a brush I mixed it up and proceeded to paint (carefully) the wreath lightly - as the filters soak the water in quickly.  This gave my wreath a more rugged and distressed feel.  I believe you could also dip the edges of your filters in the same mixture, then let them dry before squishing them and adhering them to the cardboard base.  But I really liked this imperfect shabby look :)

 
Voyla!  A splash of color to your home in a relaxing afternoon project!!


Quick & Easy Valentines Flower Vase


During this time of year, things around my house calm down a bit and I start to get crafty again.  I saw this idea while looking at facebook one evening and just fell in LOVE with it!  I had just picked up a little bouquet of flowers from the dollar store also, and knew it would be the perfect vase to go along with the Valentines color scheme for my house. 
 
I found a heart sticker from my stash of stickers and stuck it to the jar.  In the garage I gave it a quick coating of paint.  After it was dry I wrapped some twine around the top.  It needed a little more cream color to it, so I used a bit of lace.  I wanted to add a little red to the bottom portion of the vase so I punch a couple hearts from some scrap paper and glued them to the ends of my twine bow.  A little stitch marking to go around the heart to help see it better, some flowers in the vase, and quick, easy instant Valentines vase for your home décor!

Wednesday, April 15, 2015

School Days mini Mini


My second project share as the Guest Designer for Country Craft Creations is ...
 a Miniture Mini.  This was just a quick, but super fun project I created to hold just a few pictures (my kids first day of school) :)  The first day of school is always filled with anxious excitement.  My kids are dressed and ready to catch the bus an hour before it's time.  They are wearing their favorite outfit and eager to see their schoolmates.  They've had a yummy breakfast (and sometimes two depending on how early they got up ...lol).  The morning light is warm and helps me get the best photos.  I like to have them hold up 'how many fingers' for the grade they are entering (helps me remember from year to year).  I thought this would be a fun way to display these photos.
 
 
I used the October Afternoon "Milk Money" papers and elements from their Daily Flash line.
and some white cardstock. 


The idea came from this blog post (written in a different language), however, I did my own dimensions entirely!  This is just post that inspired the project.
 
Here are the measurments I used...
Outside cover is cut at 3 3/4 x 11, scored at 2, 3 1/2, 7 1/4, and 8 3/4.
The inside accordian folded piece (attached in the middle section on the left side was
cut at 3 1/2 x 11, scored at 3 1/2, 7, and 10 1/2.
My photo mats are (I cut 6) 2 1/2 x 3,
 and I used a lot of foam tape to pop everything up, just for fun!
I used a 20" piece of ribbon to tie it closed.


Thursday, April 9, 2015

Book in a Box and Tutorial


My first  project share, as a Guest Designer for Country Craft Creations, is a Book in a Box!
 
 
And, just as I promised, here is the TUTORIAL ON YOU TUBE for you WITH MEASUREMENTS!  I did NOT write a pattern for this because I walk you through the process in the video with the measurements, scoring guides, etc.  I hope you enjoy it and send me a message showing me your amazing Book in a Box.


Just a couple extra things to note ...  I use the line paper pages from the "Play" Book to create the add-ons to the pages of the album, to show that you don't always have to use the products as they are suggested :)
I also used the Memory Cards to fill the pockets and bits from the pillow stickers, double take stickers, etc. 


Monday, April 6, 2015

School Days Ensemble


I'm super excited to share this group of projects with you!  I was selected as a Guest Designer for Country Craft Creations this month, so I have to give Tamra Merrill a great big Thank You!  The paper is from October Afternoon, and is called "Milk Money" from their Daily Flash line 2013.  It is different than any other school paper I've worked with.  It mixes a bit of the old school with the new school, with lots of fun and some clever tricks.  The colors are muted, yet still vibrant and cheerful (not your traditional bold school colors).  This paper and it coordinating products has something for everyone in any stage of their schooling!  Here is a list of the products I used to create this ensemble...
 
12 Double sided designer papers
Here and Now "Play" Book
6x8 Paper Pack
Double Take Stickers
Pillow Puff stickers
3x4 and 3x3 Memory Cards
Flash Blurbs
Tin Pins
Washi Tape "Penmenship"
 
 
I also used one sheet of 12x12 chipboard for the Book in a Box
Some white cardstock for the mini Mini
Ribbons from my stash
Graph paper for the frame background
and lots of foam tape :)
 
I will be show casing each of these items on my blog throughout the month ...
AND
I even recorded a video tutorial for you all, MEASUREMENTS INCLUDED!

Stay tuned ...


Tuesday, March 17, 2015

Graphic 45 DesignTeam Audition 2015

Wow, I can't believe I am finally auditioning.  I've wanted to for years, but my young family took most of my time.  However, the time has finally come and my family is ready to support me ... yah! 
 
For my audition I want to take you 'back in time,' to a place of memories past and share with you projects from some of the older Graphic 45 collections.  I hope that fond memories will return to you as you look through my work and that you love what you see.  I am inspired by my family, my own experiences, my love for learning, my desire to teach, and a deep love for crafting.
 
Project #1
Since spring is upon us I want to share one of my favorite projects ... a Handcart with a mini album inside.  I have written a pattern for this project as well (link here).  My goal was to enhance and show off the beautiful paper, in a timeless way!  I use this as a home decor item in my home every spring as well as a place to hold and preserve precious memories.


 Secret Garden, Graphic 45
 
Project #2
This Shadow Box Foto Folio was inspired by one of the most fun holidays we celebrate as a family... Halloween!  I have also written a pattern for this (pattern link here) and have a video tutorial on how it is assembled (link here).  I love the vibrant colors and adorable graphics.  Here again, I set it out as a home decor item in my home.  It is very rewarding to see that my children have gotten it down to look at the pictures and memories inside each year.


 Happy Haunting and Hallowe'en in Wonderland, Graphic 45
 
Project #3
This project seemed appropriate as the ABC Primer collection is returning to print.  Here I have designed an Out of the Box Album, pencil box style (pattern link here).  When I was in 5th grade we had to write our 'history' to date.  It was quite a project that took several months to complete.  However, I will always be grateful for the teacher who had us write it.  It is fun to reread what I thought about in 5th grade and hear the language of my youth.  I want my children to look back and have a similar experience.  This album has LOTS of room for photos and journaling tags, prompts, etc. and is the start of my children's history.


 ABC Primer, Graphic 45
 
Project #4
This project I finished fairly recently and was extremely fun to create!  I had been waiting for the perfect project for this paper (because I love it so much).  When I decided it was time to audition I knew I had to create something stunning with this paper!  As I often do, I layed the paper on my table and left it there to inspire me.  I also looked through ideas online and then, went to bed.  As I slept this idea came to me.  I had to make a few notes and sketches in the middle of the night so I wouldn't forget by morning ... lol.  It was very fun to create through the months of the year, thinking about the celebrations and watching my design change as the seasons change.


Place in Time, Graphic 45
 
Project #5
Mixed media is fairly new way of creating for me ... and I am loving it!  As I was looking through left over papers from other projects, I came across this angel paper.  I have three sisters, one passed when I was nine years old and I always felt she became my guardian angel.  My other sister and I are very close and we enjoy crafting for hours when we get together.  These experiences, and this paper came together effortlessly.  I've found, that when we connect our craft to a strong emotion, it means so much more to us.  Likewise, other people (even ones we don't know) connect with it as well, because we share feelings and experiences on a deeper level.


Christmas Past, Graphic 45

Project #6
Here is another mixed media project, with a much more masculine feel.  My husband has always had his 'head in the clouds!'  Since he was young he has designed and flown RC planes.  Naturally, he has shared his love with our three boys.  This was created (mommy style) to encourage them to 'reach for their dreams!' and fly to 'new heights' in life. 


Transatlantic, Graphic 45

Project #7
This project took the combined effort of my husband and I.  I fell in love with the paper and the colors and decided to design an organizer for my craft room.  From my sketchy design (lol) my husband (a carpenter) created this organizer from hardboard.  From there I painted it and adhered the gorgeous paper to it.  Naturally, I left it very simple so could stuff it full of my favorite things.  I had quite a bit of paper left over so I created another mini album (pattern link here).  This pattern has been a popular one on my website and I credit that, in part, to this stunning paper.


 Steampunk, Graphic 45

Project #8
Finally, I want to share another favorite project of mine.  Again, this a fabulous home decor item with a mini album concealed inside (pattern link here).  Although this is not Graphic 45 paper it shows my style of crafting after years of experimenting, and trial and error.  Many of the projects on my website I have taught classes for at my local craft store.  However, it closed it's classroom doors last summer (so sad).  As that door closed, I found myself looking for another door that might be open to me.  Although I often create projects for my family, my purpose is to create so that I can share it with others.  I want to inspire others to "create because they love it!"  In their own style and their own way.


Anthem, BoBunny

 I hope you have enjoyed a trip down memory lane.  Looking back I see how far I have come.  Looking forward I see a bright future filled with wonderful experiences and fantastic memories.  Thank you for considering me for the Graphic 45 2015-2016 Design Team.  Good luck to all the other applicants, it is a pleasure to craft along side you all!

Sharina Shack