

I have been working on some quick and easy Valentines decor this past week. I was going to post them all in one post here, but I have decided to bring everyone a little bit of love everyday this week instead. So ...
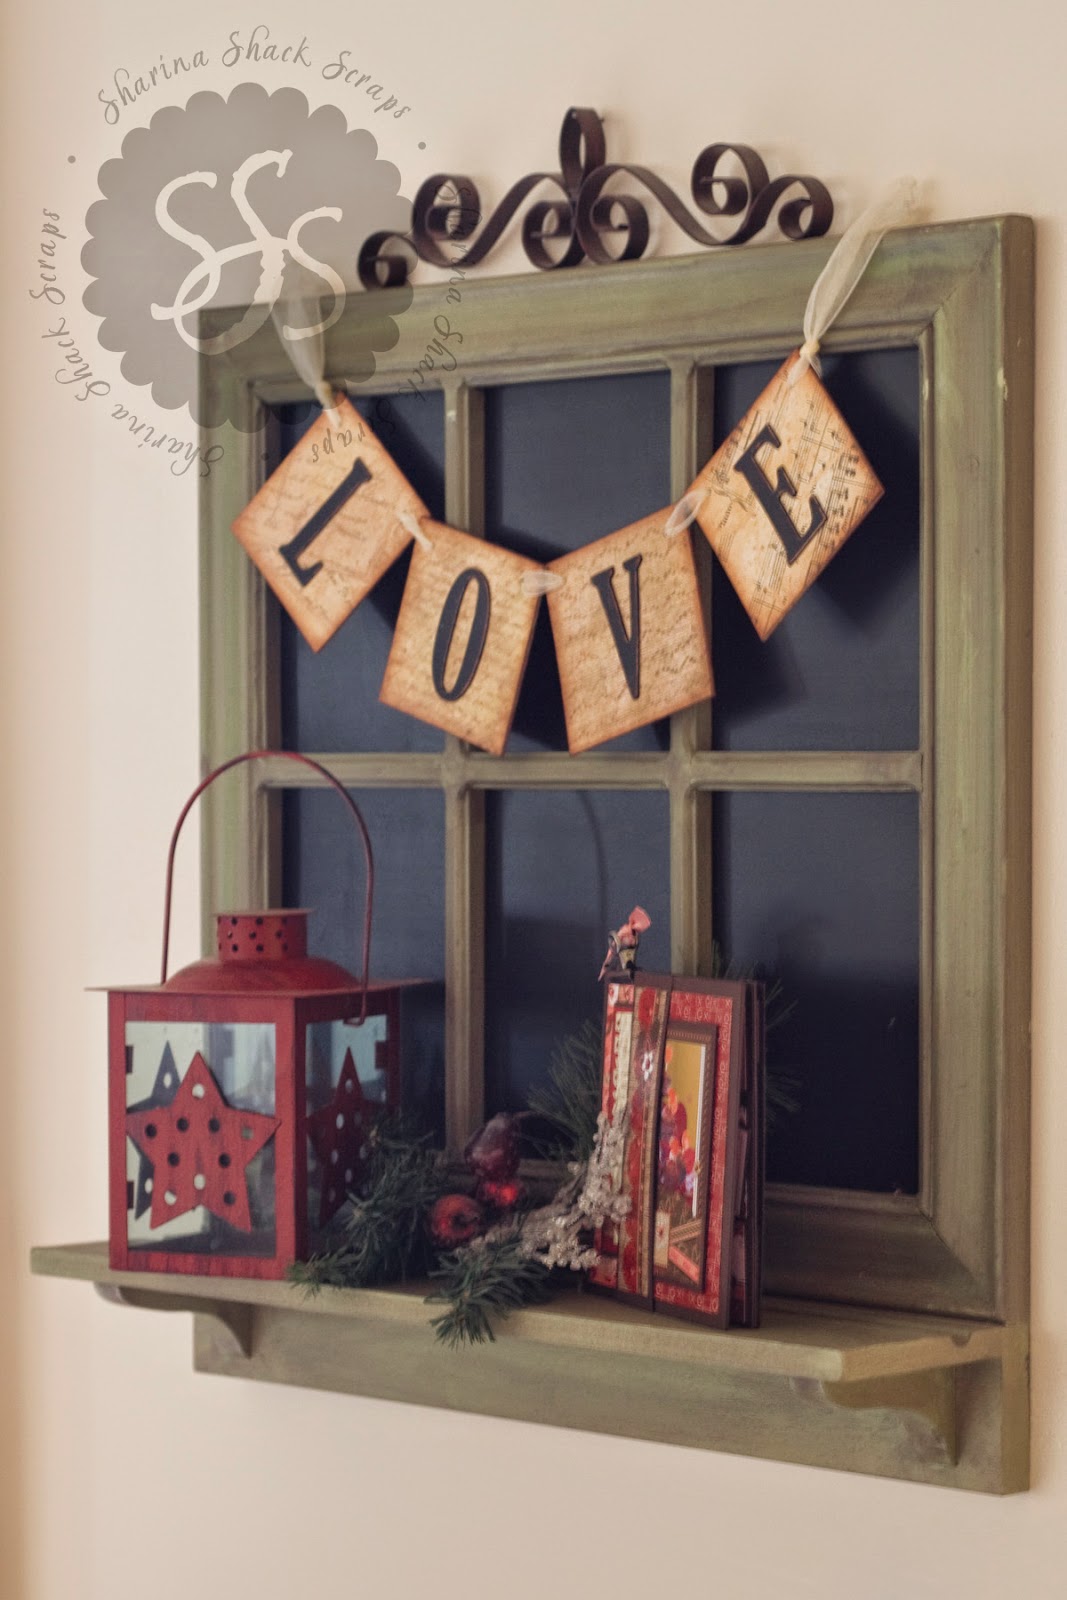
First project share for this wonderful week of Valentines is a small and simple "LOVE" banner.
This banner came together extremely fast. Usually I like to add lots of fun texture, dimension, and elements to a project, however this one I kept very simple. I created it to use for multiple purposes ... valentines decor banner, to hange behind my infant during infant photoshoots, or to have couples holding it during engagement photoshoots. Because of these dual functions, simplicity was a must.
I LOVE how it turned out.
Materials: chipboard, designer paper, chipboard letters (or stencil the letters on), hole punch, and ribbon.
How to process:
1. cut 4 chipboard squares 3 3/4 x 3 3/4.
2. cover the chipboard with designer paper.
3. prepare chipboard letters (or letter stencils) and adhere one letter to each square.
(Note: I painted chipboard letters black, then sanded the
edges. Finally, I inked the distressed edges for
a more worn look).
4. Punch holes in the top two corners of each square.
5. Thread a 32 inch piece of ribbon through the holes.
(Note: I also hot glued the ribbon to the back of the chipboard
so that it wouldn't shift when hanging).
6. To make the loops on the ends (for hanging) I folded the remaing ribbon towards the back of the banner and hot glued them to the back. Then I tied a knot it the double layer of ribbon to the side of the chipboard.
Banner is approxiametly 16 inches when hanging.
Creidts: Provo Craft samples paper, and "Chip Chatter" tall letters from Pressed Petals
No comments:
Post a Comment